Violin charts in plotly with violin
Violin plots are distribution charts similar to box plots that allow visualizing the underlying distribution of the data through a mirrored kernel density line of that data. With the violin function from the plotly express module you can create violin plots in Python. You will need to input a numerical variable to y or specify the name of the column of a data frame with the desired variable in order to create a vertical violin plot.
import plotly.express as px
import numpy as np

# Sample data
np.random.seed(5)
var = np.random.normal(0, 1, 500)

fig = px.violin(y = var)

# Alternative:
# import pandas as pd
# df = pd.DataFrame({'var': np.random.normal(0, 1, 500)})
# fig = px.violin(df, y = 'var')

fig.show()
Horizontal violin plot
If you pass the variable to x instead of to y you will create a horizontal violin plot.
import plotly.express as px
import numpy as np

# Sample data
np.random.seed(5)
var = np.random.normal(0, 1, 500)

fig = px.violin(x = var)

fig.show()
Violin plot with box plot inside
Recall that you can draw boxes inside the violin setting the box argument to True.
import plotly.express as px
import numpy as np

# Sample data
np.random.seed(5)
var = np.random.normal(0, 1, 500)

fig = px.violin(y = var, box = True)

fig.show()
Color customization
The default blue color of the violin plot can be customized passing an array with a single color to color_discrete_sequence. This will change the border and fill color for all the elements.
import plotly.express as px
import numpy as np

# Sample data
np.random.seed(5)
var = np.random.normal(0, 1, 500)

fig = px.violin(y = var, color_discrete_sequence = ['green'])

fig.show()
Advanced customization
With the violin traces you will be able to customize everything of the plot, such as colors, line styles, etc. In the following example we highlight some of the most used arguments, whose names are self-explanatory, but recall to read the original documentation for the full list of arguments clicking on the previous link.
import plotly.express as px
import numpy as np

# Sample data
np.random.seed(5)
var = np.random.normal(0, 1, 500)

fig = px.violin(y = var, box = True)
fig.update_traces(fillcolor = 'green',
                  line_color = 'blue',
                  marker_line_outliercolor= 'black',
                  box_fillcolor = 'red',
                  opacity = 0.5)

fig.show()
Points
By default, the violin plot shows the outliers, if any. However, you can also remove them setting points = False or highlight the suspected outliers with points = 'suspectedoutliers'. The last alternative is to add all the observations with points = 'all', as in the example below.
import plotly.express as px
import numpy as np

# Sample data
np.random.seed(5)
var = np.random.normal(0, 1, 500)

fig = px.violin(y = var, points = 'all')

fig.show()
Violin plot side
The side argument of update_traces controls the side of the violin to be displayed. The argument defaults to 'both' but can also be set to 'positive' or 'negative'. This argument is specially useful to create splited violin plots.
import plotly.express as px
import numpy as np

# Sample data
np.random.seed(5)
var = np.random.normal(0, 1, 500)

fig = px.violin(y = var)
fig.update_traces(side = 'negative')

fig.show()
Violin plots by group
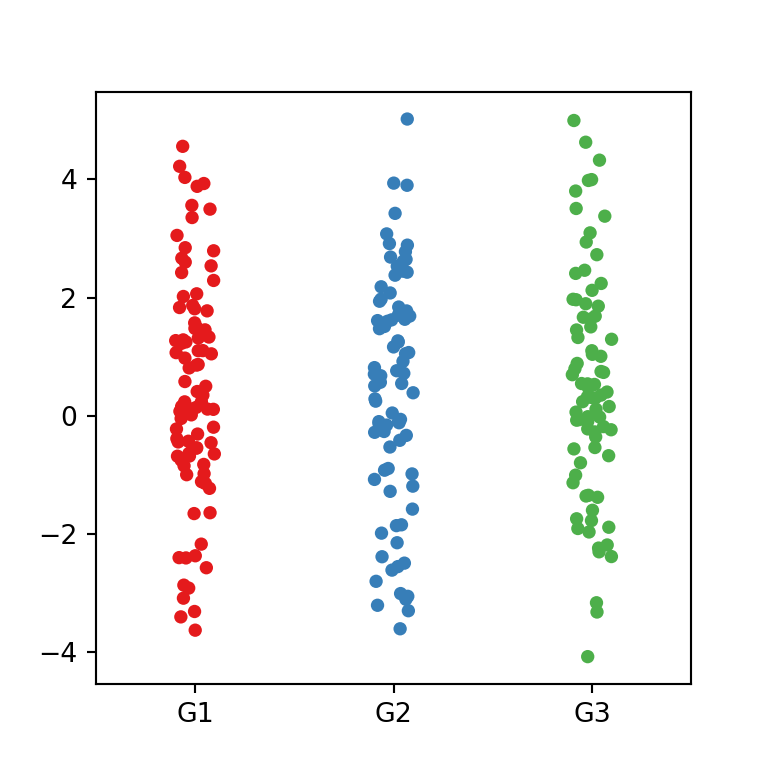
If a categorical variable representing groups is passed to color as input a violin chart by group will be created.
import plotly.express as px
import numpy as np
import pandas as pd
import random; random.seed(2)

# Sample data
np.random.seed(5)
df = pd.DataFrame({'var': np.random.normal(0, 1, 500),
                   'group': random.choices(["G1", "G2", "G3"], k = 500)})

fig = px.violin(df, y = 'var', color = 'group')

fig.show()
Adding points
The arguments used in the first section of this tutorial can also be used to customize the chart by group. For instance, you can add points for each group with points = 'all' or add box plots with box = True.
import plotly.express as px
import numpy as np
import pandas as pd
import random; random.seed(2)

# Sample data
np.random.seed(5)
df = pd.DataFrame({'var': np.random.normal(0, 1, 500),
                   'group': random.choices(["G1", "G2", "G3"], k = 500)})

fig = px.violin(df, y = 'var', color = 'group', points = 'all', box = True)

fig.show()
Overlayed violin plots
You can set the violinmode argument to 'overlay' in order to overlay the violins instead of display them side by side.
import plotly.express as px
import numpy as np
import pandas as pd
import random; random.seed(2)
# Sample data
np.random.seed(5)
df = pd.DataFrame({'var': np.random.normal(0, 1, 500),
'group': random.choices(["G1", "G2", "G3"], k = 500)})
fig = px.violin(df, y = 'var', color = 'group', violinmode = 'overlay')
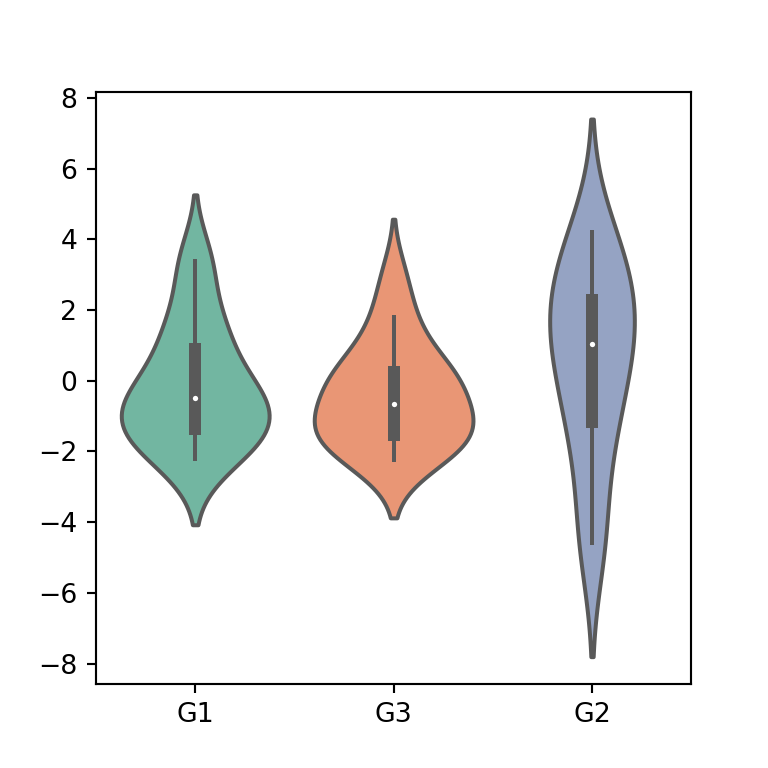
fig.show()Custom color for each group
The color for each group can be customized passing an ordered array of colors to color_discrete_sequence or a dict to color_discrete_map, as in the following block of code.
import plotly.express as px
import numpy as np
import pandas as pd
import random; random.seed(2)

# Sample data
np.random.seed(5)
df = pd.DataFrame({'var': np.random.normal(0, 1, 500),
                   'group': random.choices(["G1", "G2", "G3"], k = 500)})

fig = px.violin(df, y = 'var', color = 'group', box = True,
                color_discrete_map = {'G1': '#66C2A5', 'G2': '#FC8D62', 'G3': '#8DA0CB'})

fig.show()
Grouped violin plot
Finally, if your data set contains groups and subgroups you can also create a grouped violin chart. For that purpose you will need to input your categorical data to x and to color, as shown below.
import plotly.express as px
import numpy as np
import pandas as pd
import random; random.seed(2)

# Sample data
np.random.seed(5)
df = pd.DataFrame({'var': np.random.normal(0, 1, 500),
                   'cat_var': random.choices(["A", "B"], k = 500),
                   'group': random.choices(["G1", "G2", "G3"], k = 500)})

fig = px.violin(df, y = 'var', x = 'cat_var', color = 'group', box = True,
                color_discrete_map = {'G1': '#66C2A5', 'G2': '#FC8D62', 'G3': '#8DA0CB'})

fig.show()